Preprocessing
Filtering the data:
It is often a good idea to perform a series of pre-processing operations on the MD simulation data prior to employing our analysis methodologies. This approach can remove high frequency motions of lipids and can help to obtain better rendering of the streamlines.The script to perform the filter is available here. It is a very simple bash code. To use it just type:
$ bash filter.sh "path to your xtc file" "path to your tpr file" 10
Defining the 2 leaflets:
To study the behaviour of each lipid membrane leaflet independently they were separated using in-house Python code with the MDAnalysis library. It can be a good idea to separate the two leaflets in order to remove some noise as they can have different dynamic behaviour. The script to identify the two leaflets is available here.
$ python leaflet_finder.py "path to your membrane gro file" "name PO4" l0 l1
Then, you can use GROMACS to define each leaflet in the trajectory, lets say we want to create the trajectory for the leaflet 0 based on the files we just created:
$ trjconv -f "path to your membrane xtc file" -s "path to your tpr file" -n l0.ndx -o l0.xtc
NB2: The result depends on your input gro file so if there are a lot of lipid flip-flops in your trajectory they will not be taken into account unless you repeat with several gro files.
Postprocessing
Create a 3D meshed file from Mayavi:
After obtaining a 3D scene with Mayavi - see here - you can save the file in .x3d or .obj so that you will obtain 3D mesh file to use in input for other programs.
Rendering 3D meshed file using Blender:
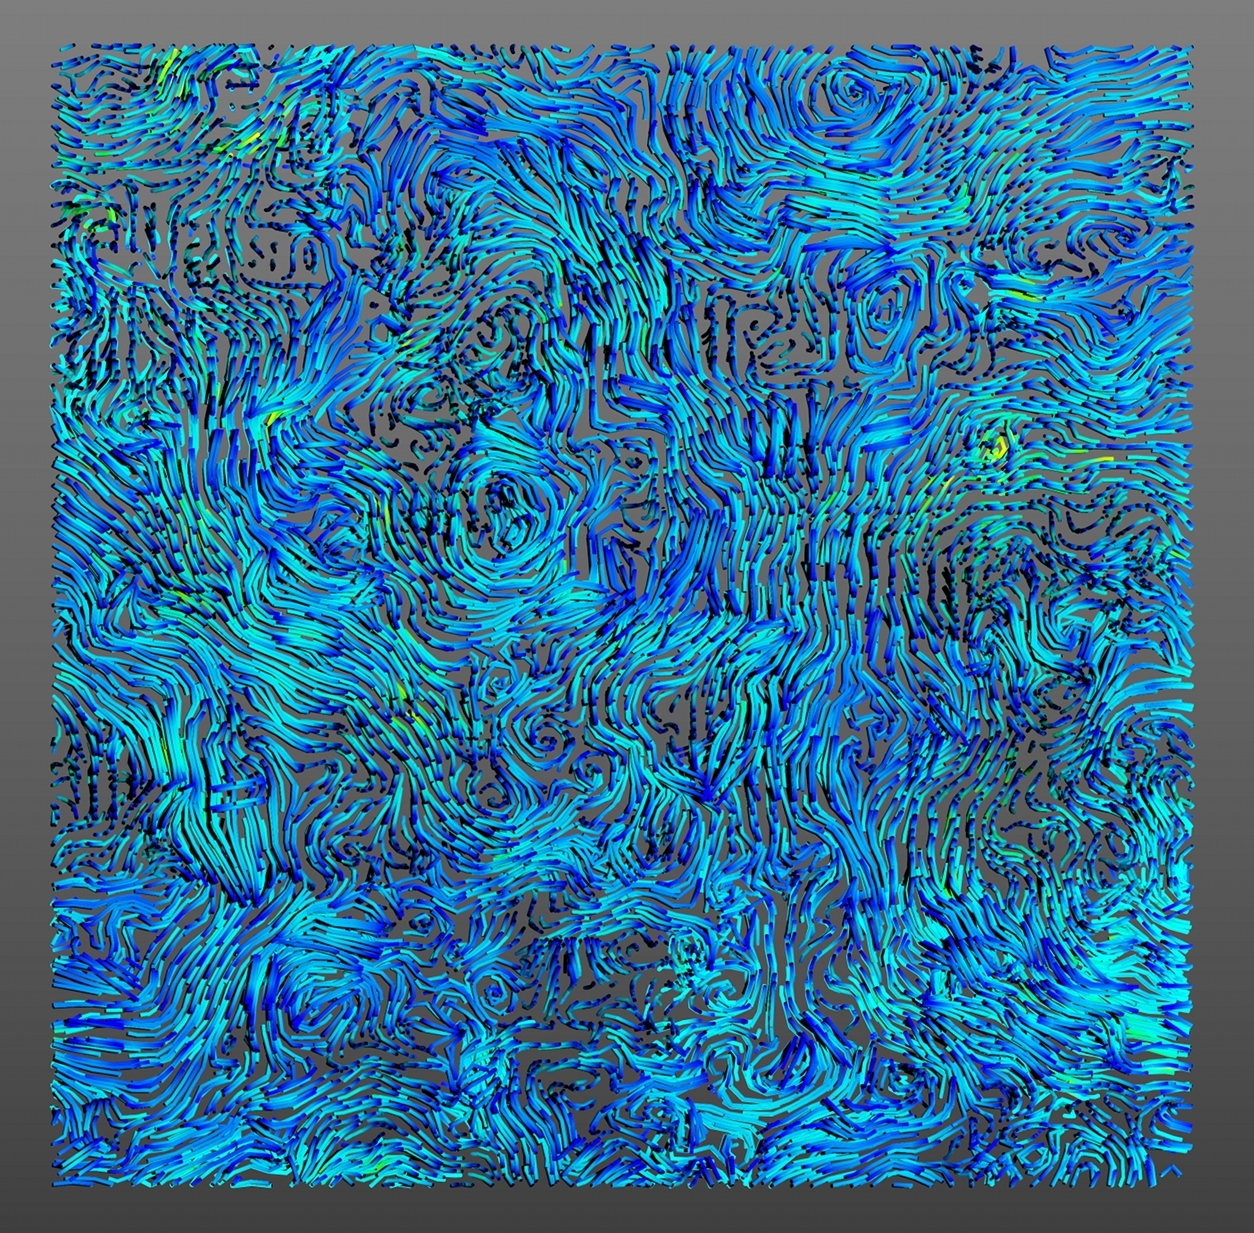
You can use different programs in post-process to improve your 3D scene: see a list here . We have used Blender to perform a simple rendering from a saved .x3d file as presented bellow. You can have access to the blender file here.NB: In function of your Blender version the colours can change..

